
In React applications, I often realize that my component starts getting too big. It starts to have too many responsibilities. Sometimes I also see that the part of my component might be reused by other components. This is a great moment to extract this part of the component into a separate one. In today’s article I’m presenting how I do it quickly and effectively.
Table of Contents
Context
When building UI with React, I often find myself adding more and more HTML elements to my component. With time, such component gets too big with too many responsibilities.
Let’s take the following React component as our starting point:
This is a sample app created with create-react-app and you can find the full source code here.
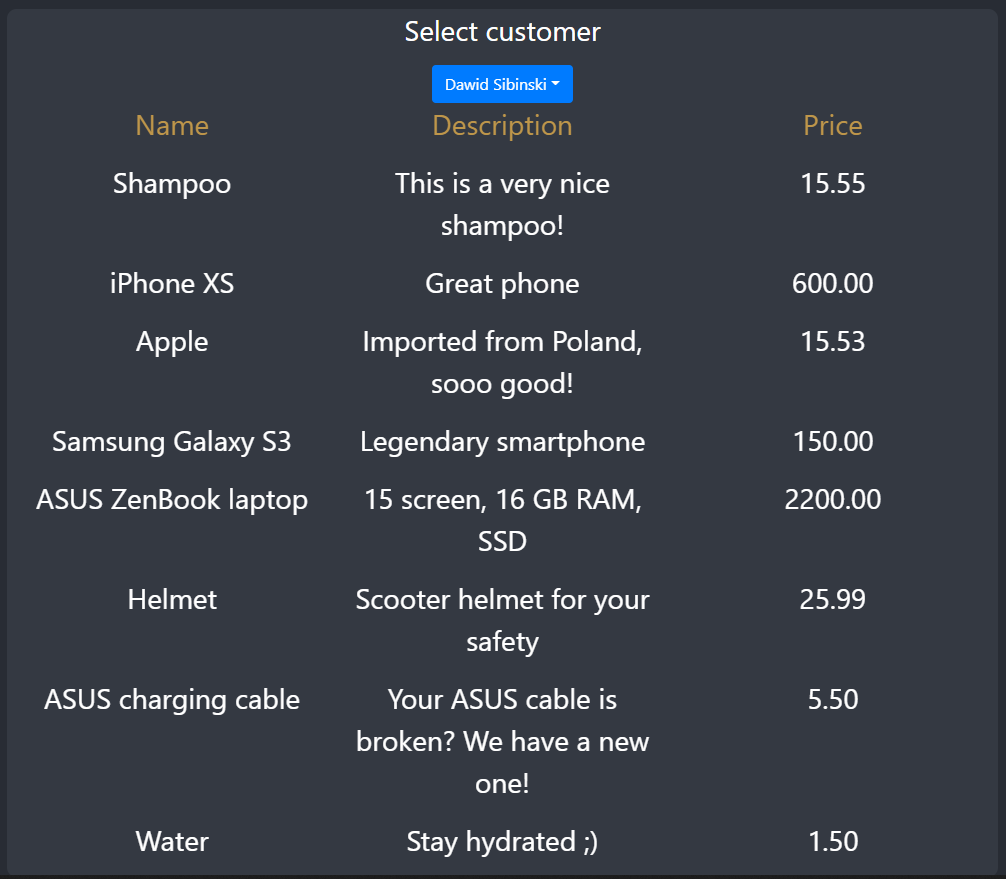
The functionality is not that important here, but just to show you what this code renders:

Just a simple app with the list of products. There’s also a customer selection dropdown. Every customer has different loyalty discount, so when you select different customers the prices also update accordingly.
Such a codebase is often what we start with. Quite big component with many responsibilities. Of course, our example is still very much simplified – in reality everything looks even more spaghetti ?
Extracting our first component
There comes a big day. You want to display the products list in another place of your application. But without the customer selection dropdown, because customer is already known in this other context. The code responsible for products list displays currently resides in Invoice component:
This is the component we want to extract. Below I’m presenting how to effectively perform this operation is 6 steps.
1. Create a new component
Create a new file in which the extracted component will be placed. I recommend to always keep one component per file (ease of searching, ease of imports etc.).
Let’s create a new file called productsList.tsx and prepare a component class (it could also be a function component) inside with an empty render() function:
First step done. We have place for our new component prepared.
2. Extract contents from render()
Now, let’s move the code responsible for displaying the list of products into ProductsList component’s render() function:
Remember about wrapping everything in a single element like a div, as the render() function must return exactly 1 parent element,
3. Move imports
Now your IDE should start complaining about missing dependencies in the new file. If you use Visual Studio Code with ESLint or TypeScript, you should see many errors:

The easiest dependencies to move are those imported from external libraries. In our example, we’re missing Container, Row and Col components from react-bootstrap npm package. Let’s import them in our new file by adding the following line:
import { Container, Row, Col } from 'react-bootstrap';By the way, thanks to extracting this new component, these dependencies are not needed in invoice.tsx file anymore:
We can safely remove them from there.
4. Change dependencies into props
After we fixed the missing dependencies from npm libraries, it’s time to deal with our internal dependencies. Let’s see what VS Code tells us:

We’re missing products and customer. At this stage, we make those dependencies props of our new component. In the end, our productsList.tsx file looks as follows:
Visual Studio Code doesn’t complain anymore.
If needed and you think it’s necessary, you can also think about moving some dependencies into the state of the new component. In our case, the state remains in the parent component (Invoice).
5. Fix remaining issues in render()
If it happens that something still doesn’t work in render() function of the new component, you would need to fix that at this last stage. If some functions are missing – move them from the old component. If it happens that the function is needed by both components (the old and the new one) – extract it into a separate file and import it in both components.
In our case, everything looks good already.
6. Use new component in the old one
The last step is to import the new component in the old one and render it, providing all necessary props.
First, we import ProductsList component at the top of invoice.tsx file:
import { ProductsList } from './productsList';Then we render it in the place where the old code was present, providing necessary props:

That’s it. Our component is now extracted and we can re-use it in different places of our React app. The list of products is still displayed on the invoice as previously, using the extracted ProductsList component.
Further improvements
I recommend following these steps for every piece of your component that is a potential candidate for a separate component. Even it will not be re-used in the future, separating concerns is a good practice. Have a component-per-file strategy also simplifies the maintenance of the codebase.
In case of our example, I also extracted a CustomerSelector component. Thanks to that, the render() function of Invoice component looks as simple as that:
Another side-effect is that the invoice.tsx file became independent from react-bootstrap library, as it is not using any components imported from it anymore. Which is a good thing ?
You can check the finished code here.
I hope you found this article helpful for steps to extract React component. Remember to not exaggerate – not every piece of your component’s code must be a separate React component. Sometimes it’s better to keep one, even a bit bigger component than extracting every two lines of its render() function. Especially if the potentially extracted component is very small and it will never be reused. In effect, extracting these 2-3 lines of code might only bring more confusion to your codebase. You need to judge it yourself.
![webpack code showing [cached] everywhere](https://blog.yumasoft.pl/wp-content/uploads/2021/11/Yumasoft_webpack_watch_cached_not_refreshing_bundles-1-263x174.png)